

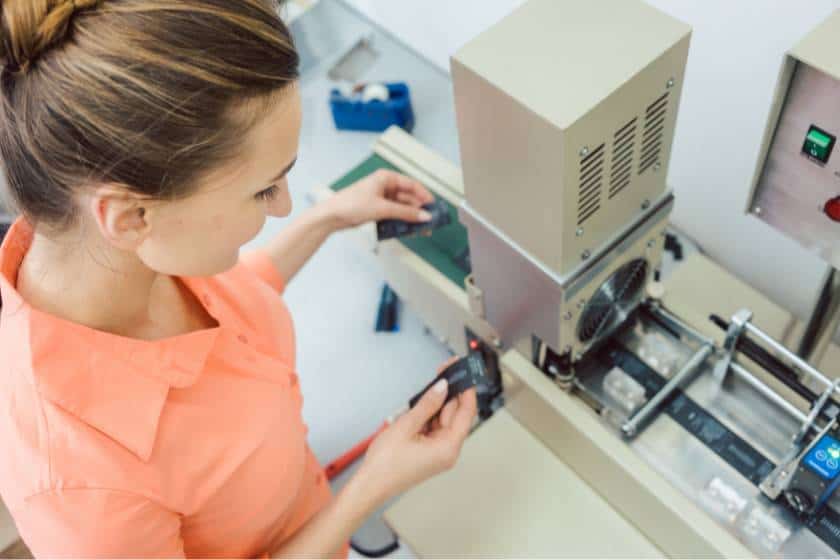
 Label printers are handy devices that allow you to quickly and efficiently create labels for various purposes. Whether you need labels for organizing your office, labeling products, or even creating shipping labels, label printers can simplify the process. Here are some steps to help you use label printers effectively:
-
 Primera LX3000 Color Label Printer with Big Ink, Dye Ink SKU: LX3000-dye$3,195.00
FREE SHIPPING over $199*
Orders before 12PM EST usually Ship Same Business Day -
 Epson C4000 / CW-C4000 ColorWorks Inkjet Label Printer (Gloss) SKU: C31CK03A9991$2,492.00
FREE SHIPPING over $199*
Orders before 12PM EST usually Ship Same Business Day -
 Afinia CP950 Envelope Packaging and Box Color Label Printer SKU: 35256$20,000.00
FREE SHIPPING over $199*
Orders before 12PM EST usually Ship Same Business Day
Choose the right label printer: There are different types of label printers available, including thermal printers and inkjet printers. Your budget and needs should determine which one you choose.
Install necessary software: Most label printers come with their own software. Make sure that the software you want to install on your computer is compatible with your operating system before you install it.
Connect the label printer: If you have a wireless label printer, you can connect it to your computer using a wireless connection or a USB cable. Follow the manufacturer’s instructions for proper connectivity.
Set up label templates: Use the label software to create and customize label templates. With text, images, and barcodes, you can create your own design or choose from pre-designed templates.
Load label rolls: Open the label printer and load the label rolls or sheets as per the instructions provided. Make sure the labels are properly aligned to avoid printing errors.
Adjust printer settings: Configure the printer settings, such as label size, print quality, and orientation, according to your requirements. Label software usually allows you to do this.
Print the labels: Once the label design and printer settings are finalized, click on the print option in the software. The label printer will then start printing the labels.
Test and adjust as needed: Print a test label to check for any alignment or formatting issues. Make adjustments in the software or printer settings if necessary.
By following these steps, you can effectively use label printers to create professional-looking labels for your personal or business needs. If your label printer model requires specific instructions, check the manufacturer’s instructions.
- Quick Label QL-300s (120V) Toner CMYK + White Color Label Printer SKU: 1003-0000004$12,495.00
FREE SHIPPING over $199*
Orders before 12PM EST usually Ship Same Business Day -
 Epson ColorWorks C7500 Gloss Inkjet Color Label Printer SKU: C31CD84311 GTIN: 814420980107$9,349.00
FREE SHIPPING over $199*
Orders before 12PM EST usually Ship Same Business Day -
 Afinia L901 Plus Industrial Inline Color Label Printer SKU: 32344 GTIN: 678621130200$14,250.00
FREE SHIPPING over $199*
Orders before 12PM EST usually Ship Same Business Day
How to Use Different Types of Brand Label Printers
To effectively use different types of label printers from various brands like Afinia, Epson, Primera, QuickLabel, and TrojanLabel, it’s essential to familiarize yourself with the specific instructions provided by each brand. Here are some general guidelines to get you started:
Afinia Label Printers:
- Install the Afinia Label software provided with the printer on your computer.
- A USB cable can be used to connect the printer to your computer, or a wireless connection can be established.
- Create or customize label templates using the Afinia Label software.
- Load label rolls as per the instructions provided by Afinia.
- Adjust printer settings, such as label size and print quality, using the Afinia Label software.
- Based on the test print, make any adjustments necessary to your labels.
-
- Install the Epson label printing software provided with the printer.
- A USB cable or wireless connection can be used to connect your computer to the printer.
- Create or customize label templates using the Epson label printing software.
- Load label rolls or sheets according to the specific instructions from Epson.
- Adjust printer settings, such as label size and print resolution, using the software.
- Print the labels, perform test prints, and refine as needed.
Primera Label Printers:
- Install the Primera label printing software provided with the printer.
- Using a wireless or tc, you can connect the printer to your computer.
- Use the Primera software to create or customize label templates.
- Load label rolls or sheets based on the instructions provided by Primera.
- Adjust printer settings, including label size and print speed, using the software.
- Print the labels, conduct test prints, and make necessary adjustments.
QuickLabel Label Printers:
- Install the QuickLabel software specific to your printer model.
- You should follow the recommended method to make your computer and printer communicate.
- Use the QuickLabel software to create or customize label templates.
- Load label rolls or sheets according to QuickLabel’s instructions.
- Software settings can be adjusted, such as the label size and print quality.
- Print the labels, perform test prints, and fine-tune them as required.
-
- Install the TrojanLabel software provided with your printer.
- You can connect your printer and computer using a USB or wireless connection.
- Create or customize label templates using the TrojanLabel software.
- Load label rolls or sheets based on the instructions from TrojanLabel.
- Adjust printer settings, such as label size and print resolution, using the software.
- Print the labels, conduct test prints, and make any necessary refinements.
-
 Primera LX910 Color Label Printer SKU: LX910$2,749.00
FREE SHIPPING over $199*
Orders before 12PM EST usually Ship Same Business Day -
 Afinia L801 Plus Commercial Color Label Printer SKU: 32498$8,850.00
FREE SHIPPING over $199*
Orders before 12PM EST usually Ship Same Business Day - Epson ColorWorks C3500 Inkjet Color Label Printer SKU: C31CD54011 GTIN: 814420980046$2,419.00
FREE SHIPPING over $199*
Orders before 12PM EST usually Ship Same Business Day
There may be specific steps you need to follow depending on your label printer model, brand, and manufacturer. These are only general guidelines. Always consult the user manuals, online resources, or customer support of the respective brands for detailed instructions tailored to your specific label printer model.
Related Articles

