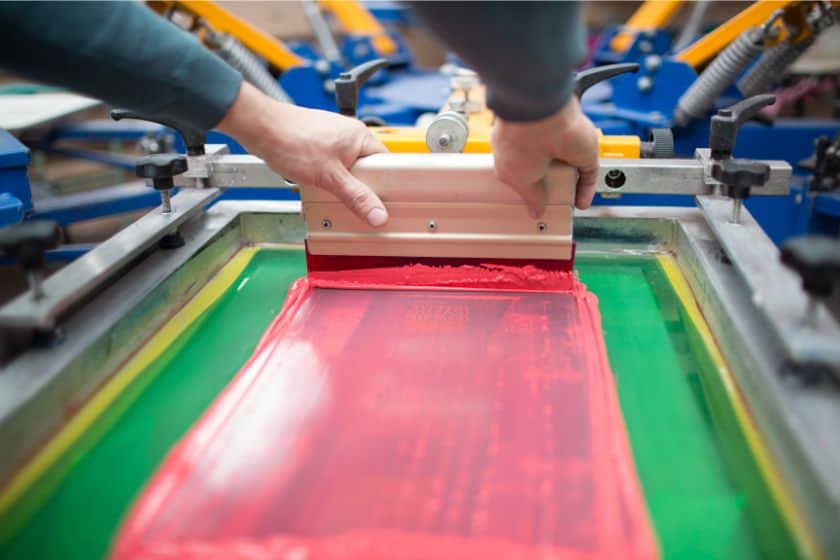
 Silk screening or serigraphy, a printing technique known as screen printing, has been used for centuries. It’s a popular method for transferring intricate designs onto various surfaces, from clothing and promotional items to posters and packaging. This article will provide an in-depth look at what screen printing is, why it’s used, and a step-by-step guide to the screen printing process.
-
 Primera LX600 Color Label Printer SKU: LX600$1,995.00
FREE SHIPPING over $199*
Orders before 12PM EST usually Ship Same Business Day - Product on sale
 Epson C4000/CW-C4000 ColorWorks Inkjet Label Printer (Gloss) SKU: C31CK03A9991Original price was: $2,399.00.$2,199.00Current price is: $2,199.00.
FREE SHIPPING over $199*
Orders before 12PM EST usually Ship Same Business Day -
 Afinia CP950 Envelope Packaging and Box Color Label Printer SKU: 35256$18,995.00
FREE SHIPPING over $199*
Orders before 12PM EST usually Ship Same Business Day
Why is Screen Printing Used?
Before diving into the step-by-step process, it’s important to understand why screen printing is a preferred choice in many applications:
Versatility: Screen printing can be used on a wide range of materials, including fabric, paper, wood, metal, glass, and plastic. An array of industries can benefit from its versatility.
Durability: Screen printing has a reputation for being durable and long lasting. Wear-resistant ink makes screen printing an ideal choice for clothing, signage, and outdoor displays.
Vibrant Colors: The use of screen printing enables you to create intricate and eye-catching designs using vibrant, opaque colors.
Cost-Effective: For large production runs, screen printing is cost-effective due to its efficiency and ability to produce consistent results.
Customization: Screen printing can accommodate custom designs and variable data, making it suitable for personalized items.
Taking a step-by-step approach, let’s walk through screen printing.
The Screen Printing Process, Step-by-Step
Step 1: The Design Is Created
In the process of screen printing, the design is created for transfer to the target surface. This design can be hand-drawn or digitally created using graphic design software. The design will involve several colors, so each screen will need to be created separately.
Step 2: The Screen Is Prepared
Each color in the design is made into a mesh screen once the design is finalized. Polyester or nylon are commonly used in the manufacture of the screen. The screen should be prepared as follows:
- The screen is stretched tightly over a frame, creating a taut and flat surface.
- The screen is coated evenly with a light-sensitive emulsion.
- The emulsion-coated screen is then dried in a dark room or using a UV light source until it hardens.
Step 3: The Emulsion Is Exposed
After the emulsion has dried, the prepared screen is placed in a light exposure unit. A film positive of the design, which is essentially a transparent sheet with the design printed on it, is placed on top of the emulsion-coated screen. A UV exposure unit emits UV light which hardens the emulsion on the screen by passing through the clear areas. After washing away the designs, you can proceed to the next step.
Step 4: The Emulsion Is Washed Off, Creating the Stencil
The screen is rinsed carefully with water once the emulsion has been exposed. The stencil leaves behind the unhardened emulsion after the unhardened emulsion has been washed away. The stencil is now ready for ink application.
Step 5: The Item Is Prepared for Print
Before printing can begin, the item to be printed must be prepared. This may involve:
- Placing the item on a printing platform, such as a flat table or a conveyor belt for automated printing.
- Assuring that the object is spotless and free of any debris or dust that might degrade the print quality.
- Properly aligning the item to ensure accurate placement of the design.
- Step 6: Placing the item on the screen and pressing the ink
Step 6: Now comes the exciting part—printing the design onto the item. Here’s how it’s done:
The screen, with the stencil side facing down toward the item, is lowered onto the surface.
Near the edge closest to the printer, ink is placed on top of the screen.
- Ink is forced through the stencil’s open areas with the help of a squeegee, or rubber blade.
- The squeegee is typically pulled across the screen several times to ensure even coverage and vibrant colors.
- Each color in the design is repeated in this manner. It is necessary to apply screen and ink to each color separately.
Step 7: The Product Is Dried, Checked, and Finished
Once the design has been printed onto the item, the screen printing steps of the screen printing process involve:
- Curing the printed item by drying it. The print is put through quality control inspections to make sure it is accurate, flawless, and meets the required standards. Depending on the ink type, it may be possible to combine heat curing and air drying.
- If additional treatment, such as embroidery or heat pressing, is required, it will be folded, packaged, or given any necessary finishing touches.
- With these steps completed, the screen-printed item is ready to be distributed, sold, or used as intended.
-
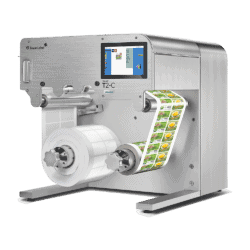 TrojanLabel T2-C Tabletop Volume Press Label Printer SKU: 10000155$33,995.00
FREE SHIPPING over $199*
Orders before 12PM EST usually Ship Same Business Day -
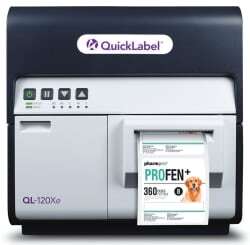 Quick Label QL-120Xe Inkjet Color Label Printer with 1 Year Warranty SKU: 42725300$5,995.00
FREE SHIPPING over $199*
Orders before 12PM EST usually Ship Same Business Day -
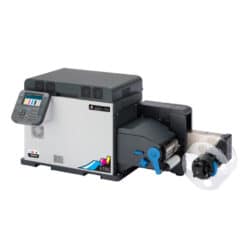 Afinia LT5C CMYK + White Label Printer SKU: 36138$12,495.00
FREE SHIPPING over $199*
Orders before 12PM EST usually Ship Same Business Day
Screen Printing Press
A screen printing operation is not complete without the screen printing press. It’s the machinery that holds the screen in place and allows for precise positioning and consistent printing. There are several types of screen printing presses to choose from, depending on your needs:
Manual Press:
- Ideal for beginners and small-scale operations.
- It requires manual effort to push the squeegee across the screen, making it suitable for low-volume printing.
- Affordable and easy to set up.
- Well-suited for single-color or multi-color designs with simple registration.
Automatic Press:
- Designed for high-volume production.
- Offers precise control over printing variables like pressure, speed, and registration.
- Suitable for complex multi-color designs.
- It is expensive and requires more space and maintenance.
Semi-Automatic Press:
- Combines the advantages of manual and automatic presses.
- It requires less manual effort than a manual press but offers more control than an automatic press.
- Suitable for medium-sized operations.
When selecting a screen printing press, consider factors such as your production volume, budget, available space, and the complexity of your designs.
The Inks
Inks are a critical component of the screen printing process, as they determine the color and durability of the printed design. Ink comes in a variety of types, each with its own unique properties:
Plastisol Ink:
- Among the most common screen printing inks.
- A suspension of PVC particles and a plasticizing emulsion are used to create this product.
- In addition to its durability, opacity, and vivid colors, it is also known for its affordability.
- It requires heat curing to set the ink, making it suitable for fabrics and textiles.
Water-Based Ink:
- Environmentally friendly option.
- Contains pigments and water as the primary solvent.
- Offers a softer hand feel compared to plastisol inks.
- Ideal for printing on light-colored fabrics.
Discharge Ink:
- Fabrics with dark colors can be given a soft, vintage appearance by using this technique.
- Contains a discharge agent that removes the dye from the fabric and replaces it with pigment.
- Requires heat curing.
Specialty Inks:
- There are metallic, glow-in-the-dark, and puff inks included in this category.
- A unique and eye-catching effect can be created using this technique.
- Specialty inks may have specific curing requirements.
Choosing the right ink depends on factors such as the material you’re printing on, the desired finish, and your equipment capabilities.
The Silk Screen
It is crucial for the process of screen printing to have silkscreen to work with. By transferring ink onto the substrate, it serves as a stencil. Here’s what you need to know about silk screens
Screen Mesh:
- The screen mesh determines the level of detail and image resolution that can be achieved.
- An inch of fabric has a mesh count of a certain number of threads per inch. Higher mesh counts are used for fine details, while lower counts are suitable for more substantial ink deposits.
- Choose the appropriate mesh count based on your design requirements.
Screen Frame:
- The screen mesh is stretched tightly over a screen frame.
- Wood or aluminum are typically used for screen frames.
- A sturdy frame ensures proper tension on the mesh, which is essential for consistent printing.
Screen Coating:
- Screens are coated with UV-sensitive emulsions that harden when exposed to light.
- Using an even application of emulsion, the stencil is created.
- Screens need to be properly coated and exposed to achieve accurate designs.
It is crucial to select the right screen since it directly impacts your prints’ quality and precision. Ensure your screens are well-maintained and stored properly to prolong their lifespan.
The Squeegee
In screen printing, the squeegee plays an essential role. This tool is used to force ink through stencils and onto substrates. Here’s what you should know about squeegees:
Squeegee Blade:
- Squeegee blades are typically made of rubber or polyurethane.
- The hardness of the blade has an impact on ink transfer. Softer blades allow for more ink to be deposited, while harder blades result in thinner ink layers.
- A blade durometer is a measure of hardness, and the appropriate durometer depends on the type of ink and substrate.
Squeegee Handle:
- The handle provides a comfortable grip and allows for smooth, controlled strokes.
- Choose the handle that suits your preferences from a variety of shapes and sizes.
Squeegee Angle:
- The angle at which the squeegee is held during printing affects ink deposition and print quality.
- You can achieve the desired effect by experimenting with different angles.
Proper maintenance of your squeegee blades, such as cleaning and sharpening, is essential for consistent and high-quality printing.
-
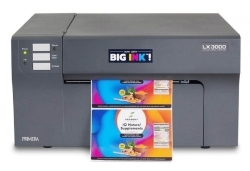 Primera LX3000 Color Label Printer with Big Ink, Pigment Ink SKU: LX3000-pigment$3,195.00
FREE SHIPPING over $199*
Orders before 12PM EST usually Ship Same Business Day - Product on sale
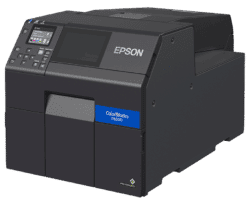 Epson ColorWorks CW-C6000A Matte Color Inkjet Label Printer with Auto Cutter SKU: C31CH76A9981Original price was: $2,899.00.$2,699.00Current price is: $2,699.00.
FREE SHIPPING over $199*
Orders before 12PM EST usually Ship Same Business Day -
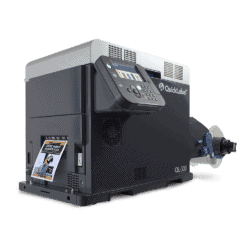 Quick Label QL-300 (120V) Toner CMYK Color Label Printer SKU: 1003-0000002$9,495.00
FREE SHIPPING over $199*
Orders before 12PM EST usually Ship Same Business Day
The Washing Station
After the printing is complete, screens, squeegees, and other equipment must be cleaned to maintain their functionality and prolong their lifespan. A dedicated washing station is essential for this purpose. Here’s what you need to know about setting up a washing station:
Screen Reclamation:
- Used screens need to be reclaimed to remove the emulsion, ink residues, and other contaminants.
- Invest in a screen washout booth with proper lighting for this task.
- Use emulsion removers and degreasers to clean screens effectively.
Ink Cleanup:
- By routinely cleaning squeegees and ink spatulas, ink buildup can be avoided.
- Have a sink or basin dedicated to ink cleanup and use appropriate cleaning agents.
Safety Measures:
- Ensure proper ventilation in the washing station to avoid inhaling harmful fumes from cleaning chemicals.
- Ensure that your personal protective equipment (PPE), such as gloves and goggles, is adequate for handling cleaning agents.
You must keep your washing station clean if you want your equipment to last as long as possible and for your prints to be as good as possible.
Screen Printing Press
Any screen printing operation would not be complete without a screen printing press. It’s the machinery that holds the screen in place and allows for precise positioning and consistent printing. There are several types of screen printing presses to choose from, depending on your needs:
Manual Press:
- Ideal for beginners and small-scale operations.
- It requires manual effort to push the squeegee across the screen, making it suitable for low-volume printing.
- Affordable and easy to set up.
- Well-suited for single-color or multi-color designs with simple registration.
Automatic Press:
- Designed for high-volume production.
- Offers precise control over printing variables like pressure, speed, and registration.
- Suitable for complex multi-color designs.
- It is expensive and requires more space and maintenance.
Semi-Automatic Press:
- Combines the advantages of manual and automatic presses.
- It requires less manual effort than a manual press but offers more control than an automatic press.
- Suitable for medium-sized operations.
When selecting a screen printing press, consider factors such as your production volume, budget, available space, and the complexity of your designs.
In conclusion, mastering the various components of screen printing, from the silk screen and squeegee to the washing station and printing press, is essential for achieving high-quality results. Understanding the characteristics of different inks and selecting the right equipment for your needs will contribute to successful screen printing projects. If you’re interested in exploring the world of screen printing or label printer for your projects, you can contact TCS Digital Solutions, where you can find different brands of printers and valuable expertise to help you get started.


